Why Jess's Garden


As I think about it now, I chose the name because I garden to create a space that I want to share with my family.
This blog has now evovled to be a discussion about how I'm attempting to create a personal and physical home for my family.
Creating a garden is a key part of that process, but it is not the only part, so I feel the different parts of this blog are all congruent to the same goal.

Friday, 12 January 2007

Growing Food

Last spring I decided it was time to expand my vegetable and fruit garden. The previous summer I had grown tomatos in a bath and I wanted to grow more vegetables in more baths. The trouble was moving the baths around the yard, so my Dad designed axles and wheels so that the baths can be moved like a wheelbarrow, he even made me handles. The photos below are of my dad attaching the axles to the baths I got from revolve (our recyling depot) and yes my wonderful dad drove four hours with a trailer to pick up the baths from revolve and bring them home.


I then made gardens in the baths using the no dig method, and planted them out with tomatoes, lettuce, asian veggies, peas, beans and spinach. Later on I added corn, beans, more lettuce and carrots. I also planted seed beet-root, but it didn't grow.
Then I brought from revolve, those clam shell kids pools, in those I planted potatoes, watermelon, zucchini and cucumber. In a dogs bed I planted golden nugget pumpkin. I also planted chillies and capsicum in pots.
Here is a photo of the garden I took around christmas
I love looking out on this from my kitchen window over the sink.

Friday, 5 January 2007

Expanding the pond garden

It has been a long while since I updated this blog. I want to get the older information out of the way so I can start talking more about what I'm doing now. Awhile after finishing the first half of the pond garden I realised I wanted to expand it so the whole corner was turned into garden. Using the end patio post and the corner of the brick work to create a line to finish the garden.
The layout
Both myself and my mother were using the grass as a pathway between her house and mine, so I knew when I made the garden I wanted to put in a path. I decided to use cheaper square pavers. We lay news paper on the ground and then covered it with sand. DH helped lay all the pavers and we were both very proud to make a curved path with very little wobbling. Dh used a leftover paver to make a step at the end of the path. I used a large rectangular pot and a platic square one with bulbs already planted to create the boundary and then lay compost and potting mix to create a planting medium. The camomile I had planted earlier was the start of the new garden.
Plants
To be honest it is so long ago I can't remember what I planted originally, but I know the savory plant, some beet-root which are now replaced with lettuce. In the big rectangle pot which created the boundary of the garden I put mint and parsley. Later on I found out that they shouldn't be planted together so I put the mint in a seperate pot and they have both been happier since. The last spring I add italian parsley lemon balm in a pot. And in the garden I added more parsley and Marjoram.
Photos
This shows the garden when I first planted it, looking down the new path.

Next shows the garden now from a similar angle.

This shows the garden looking up the path at the time of planting

Same angle taken recently

Tuesday, 12 December 2006

References

Teaming with Microbes: A Gardener's Guide to the Soil Food Web [ILLUSTRATED] (Hardcover)
by Jeff Lowenfels, Wayne Lewis "GIVEN ITS VITAL IMPORTANCE to our hobby, it is amazing that most of us don't venture beyond the understanding that good soil supports plant life,..." (more)


Two Gardeners: Katharine S. White & Elizabeth Lawrence--A Friendship in Letters (Paperback)
by Emily Herring Wilson (Editor)

Sunday, 10 December 2006

my first real garden

My mum decided that we needed to have a working bee and clean up the garden around the pond. By the end of the day I had the start of a herb garden planted onto paper and then potting mix. Below are a run of photos that show how that garden developed.

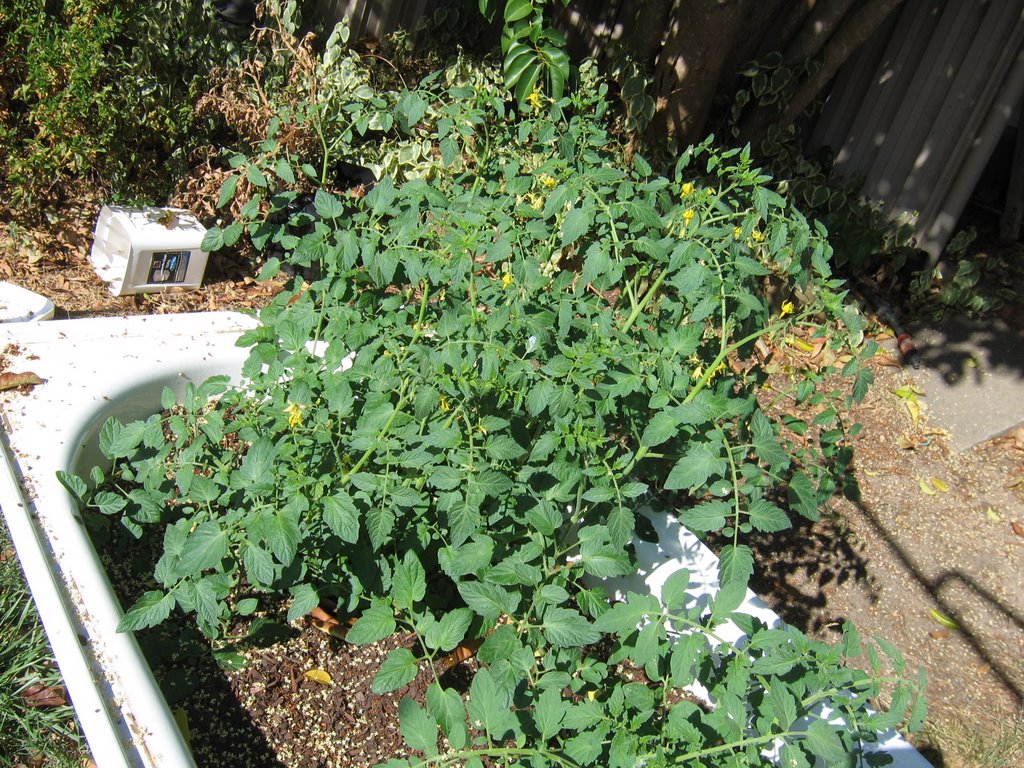
This photo shows what it looked liked before I turned it into a garden. Old dried grass and dirt. This is not were the garden is placed as I forgot to take a pre-photo.


The next two photos show what the garden looked like just after planting. I planted, lemon grass, Vietnamese mint, chives, coriander, oregano, crawling thyme and baby tears.


So what went well in the new garden. The baby tears really took off and are still slowly spreading themselves out into the garden. The Vietnamese mint is still going strong and I use it sometimes in my cooking. The coriander didn't do very well and this year I have it growing in a pot to much more success. The lemon-grass did really well and I loved cooking with it, but mum and I tried to divide it at the end of summer and killed it. But I'll try again when I find more lemon-grass. The chives didn't do very well and I expect they didn't get enough water. The oregano and thyme went well and are still growing, but I must admit I have added in an ordinary thyme as well now. Next I want lemon thyme. I really like the herbs as I can cook with them as well.
Below is a photo of the garden after summer.


The following photo is after I added in some new plants, such as sage and I can't remember what else at the moment.


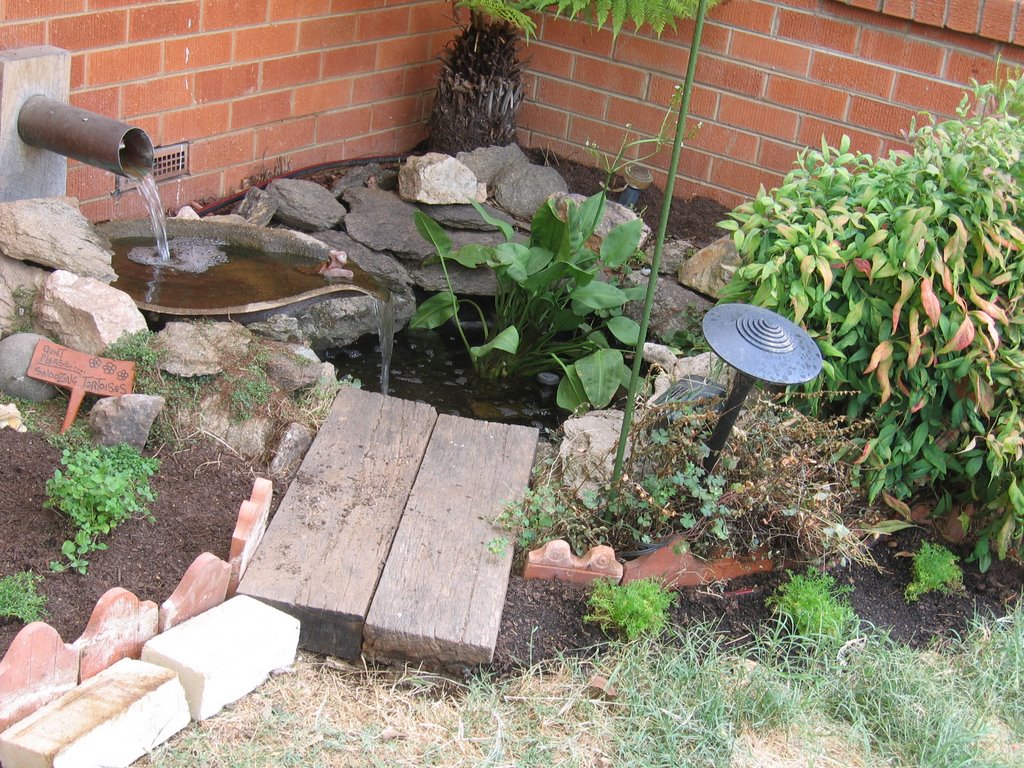
Because I have been watering this garden and the weeper hose runs behind the pond and near the ferns; the ferns have really taken off which hopefully you can see in the following photo of the garden which I took today.


The next project was to dig up the lawn on the other side of the path to the pond, which I'll show next time.

Thursday, 7 December 2006

Watering and wandering

Well tonight I went out to the shed to get something from the freezer, but on the way I got sidetracked by the fact that the garden needed watering. Before I knew it, I was adding more watering systems, fixing hoses and rescuing seedings sitting in punnets. On a side note I was really cross about the seedlings, I should know better than to buy plants mid-week. I brought them tuesday afternoon, but didn't get them planted. In the hot weather we've been having they've completely dried out, hopefully a soak overnight will save them. Otherwise I have waste nearly $50, better not tell DH.
Back to the watering, I spent nearly an hour pottering around my garden, and dinner is still not cooked. Oh well.

Saturday, 2 December 2006

A bath anyone?

As I've said, a lot of the backyard is concrete. I really wanted a vegetable garden (in particular tomatoes), but DH said I wasn't to did up the lawn or the concrete until we had been in the house a few years. So how could I have a veggie garden on concrete? As fate would have it, I saw an episode on Gardening Australia about no dig garden's, which seemed suitable, but I would need something to contain the "soil". Somewhere I got the idea of using bathtubs, my DH's parent's had an old bathtub from when they renovated their bathroom, which they kindly donated to the cause. Follow the instructions from the gardening australia website see instructions here , I made the no dig recipe in the bathtub. I also included the weeper hose about half way down the bath for watering. In this with some compost I planted tomatoes, and basil. Very quickly after watering we had stinky brown watering running down the concrete. DH was not happy and tried to create a way for it to drain to the grass, didn't work so the bath got moved until it hung over the grass. The next problem was that the bath stank to high heaven. Everyone noticed and made comments. In hindsight, I realise now that I put way too much manure in the no-dig mix. It said "sprinkle" and I really made a layer of manure. The rest of the baths have been much better. So the bath was relegated to the back of the yard, where the tomatoes and basil grew beautifully and were enjoyed most of the summer. I was very proud of the end result and my perseverance to find solutions to problems.
This first photo gives an idea of how the bath looked as the plants started to grow. The rest of the photos are from the same time.


The next photo is of one of the tomato plants.


The next photo is of the basil. It was so yummy in pesto.


The last photo is of the cherry tomato plant. It was a weeping tomato and it hung over the bath and spread around on the ground as it grew more.

The Pond photos

This is a photo of the pond very soon after moving in, I'm not sure if I had added the fish at the time of the photo.


Here is a photo of the tall pond from about the same place, you can see how the tall leaves plant has grown.


Here is a photo looking at the water right after I added the plants. I like the angle on this photo.